Setting up a second Pi-Hole
Table of Contents
For almost a year I have been using Pi-hole as the only DNS server in my network. For those of you who don’t know, Pi-hole is an open-source solution for custom DNS records and ad-blocking in your home network. My Pi-hole instance has worked just fine up until now. Recently, it has started slowing down the entire network and crashing.
Picking a server
Right now I have 3 servers. 2 of them are running linux, and the other one is running Home Assistant OS. The Home Assistant server is pretty locked down so it may be hard to get Pi-hole up and running on it. One of the linux servers is already running Pi-hole.
The Home Assistant addon store does not have Pi-hole but it has Dnsmasq. This would require more configuration and won’t work as seamlessly as Pi-hole.
So I ended up picking the other server. This server is a raspberry pi and it has barely anything running on it, so I should be fine.
Deployment
When I deployed Pi-hole on my main server, there was already a program listening on port 53 (DNS). This was a problem as Pi-hole requires port 53 and my router doesn’t allow using DNS on ports other than 53. Luckily on this server, nothing is running on port 53.
I decided to use docker to simplify the installation. I just copied the docker compose file from my original Pi-hole instance. And just like that, everything was up and running.
Configuration
Now I need to figure out a way to sync the config between my 2 Pi-hole instances. I found a perfect solution called Gravity Sync which is specifically designed for Pi-hole. Unfortunately gravity sync is challenging to install on docker. This means I will have to implement a manual sync.
It would be nice to have a 2-way sync but that is a lot more complicated than a 1-way sync. To implement a 1-way sync, I just have to figure out how to copy /opt/etc-pihole and /opt/etc-dnsmasq.d from my main server to the new server. I decided to use rsync to handle the file transfers. I wrote this script that will run on the source server:
#!/bin/bash
DEST_SERVER="user@server"

rsync -avz --delete --rsync-path="sudo rsync" --exclude "pihole-FTL.db" /opt/etc-pihole/ $DEST_SERVER:/opt/etc-pihole
rsync -avz --delete --rsync-path="sudo rsync" /opt/etc-dnsmasq.d/ $DEST_SERVER:/opt/etc-dnsmasq.d
You need to modify the file paths based on your configuration. You will also need to set up key-based SSH authentication on the destination server. Depending on your configuration, you may have to set up passwordless sudo. I set up a cron job to automatically run this script every week. The Pi-hole is now ready.
Final steps
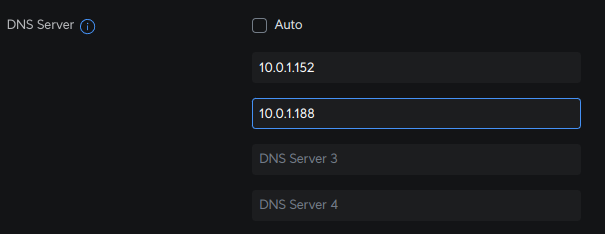
The last thing to do is to register the Pi-hole in your router. This process varies by router brand. If you have a Ubiquiti router, you can find these settings in Settings > Network > (Your VLAN) > DHCP Service Management > DNS Server.
 You will need to reconnect all of your client devices in order for the changes to fully apply.
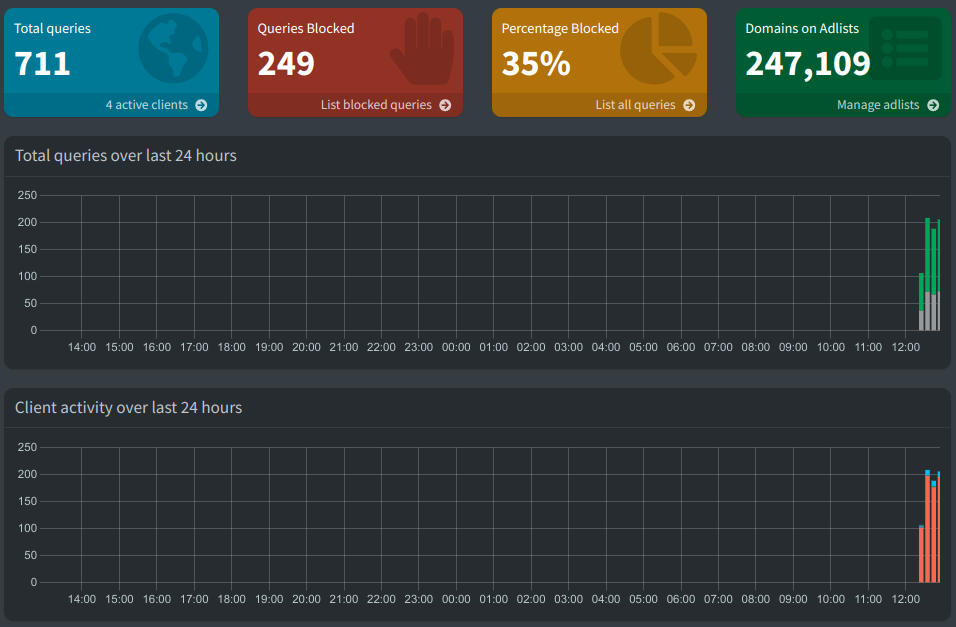
Now you can watch the DNS queries roll in!

Important notes
DNS implementation on every device is different. Some devices will use your primary DNS server and only use your secondary server if the primary server goes down. Others will distribute requests across both servers. If one of your DNS servers fails, don’t be surprised if some devices have slower internet.